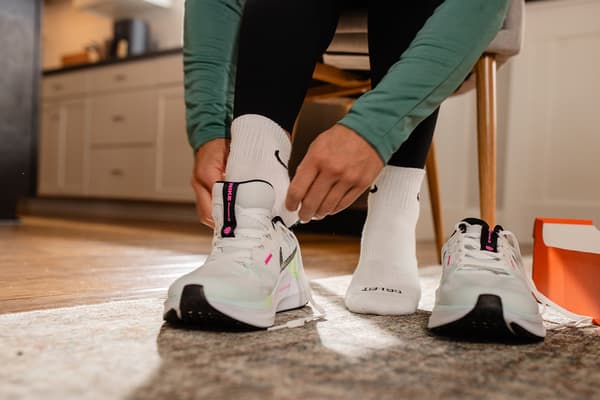
How to lace running shoes
Product care
Try these techniques to help ensure your feet are comfortable and supported.
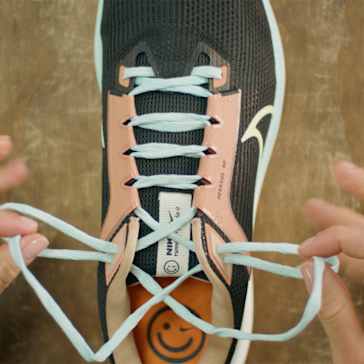
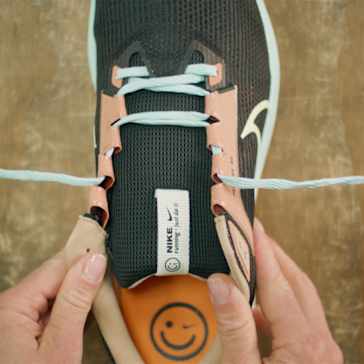
Want to optimise your running experience? The secret might just be in how you lace up your running shoes. Various lacing techniques cater to different foot types, preferences and running styles. Find the perfect fit and support for your feet, enhancing your comfort and performance on every stride with the following lacing approaches for your running shoes.
Standard lacing
The foundation of all lacing techniques, standard lacing provides a snug fit across the top of your foot. This is the most common, tried-and-tested method of lacing running shoes.
- Begin by threading the lace through the bottom eyelets, ensuring equal lengths on both sides. Progressively criss-cross the laces up the shoe, tightening as you go.
- Tie them securely at the top, maintaining a comfortable tension to get that secure, locked-in fit.
Heel-lock lacing
Struggling with heel slippage? Heel-lock lacing could be your solution. This technique creates a firm grip around your heel, minimising movement and preventing blisters.
- After reaching the second-to-last set of eyelets, feed each lace end through the top loop on the same side.
- Cross them over and feed them through the opposite loop before pulling tight.
Wide-foot lacing
If your feet tend to feel constricted, wide-foot lacing provides relief by expanding the width of your shoe's midfoot region. This method allows for more space across the midfoot, comfortably accommodating wider feet.
- Start by skipping a set of eyelets at the bottom and crossing the laces over.
- Continue lacing as usual until you reach the top, where you can tie them securely.
High-arch lacing
Runners with high arches often experience pressure points or discomfort on the tops of their feet. High-arch lacing alleviates tension by creating additional room in the shoe's upper. This technique provides a more forgiving fit for high arches, reducing discomfort during your runs.
- Begin by lacing the shoe normally until you reach the middle.
- Instead of crossing over, feed the lace straight up through the next eyelet on the same side. Repeat this process on both sides until you reach the top, where you can tie the laces securely.
Window lacing
Window lacing is a technique for improving the fit and stability of running shoes, particularly around the heel and ankle area. It involves using the existing eyelets or additional ones to create a secure lock around the ankle, preventing slippage and enhancing support.
- Begin lacing your shoe as you normally would, starting from the bottom and threading the lace through each eyelet up to the top.
- When you reach the second-to-last or last eyelet on each side, skip it and move the lace diagonally up to the next set of eyelets, creating a small "window".
- Take the lace and thread it through the window from the inside out, crossing over to the opposite side. Repeat the process on the other side.
Runner's loop lacing
Runner's loop lacing is a method used to provide extra support and prevent heel slippage in running shoes. It's particularly useful for runners who experience their heels slipping during their run. Here's how to do it.
- Begin lacing your shoe as you normally would. Once you've reached the last set of eyelets on each side of the shoe, instead of lacing straight across, create a small loop on each side by threading the lace through the same side's eyelet from the outside in, leaving a loop of lace on the outside of the shoe.
- Take each loop and cross it over to the opposite side of the shoe, feeding it through the loop created on the other side, making a criss-cross pattern with the loops.
- Pull the loops tight, ensuring a snug fit on the sides of the shoe around the ankle.
Try these lacing techniques to find the perfect match for your feet and running style. Remember to adjust the tension accordingly to ensure a secure yet comfortable fit. With the right lacing method, you can enhance your next running experience and conquer every mile with confidence.
Words by Jen Deng